

How To Practice Handstand The Right Way As A Beginner
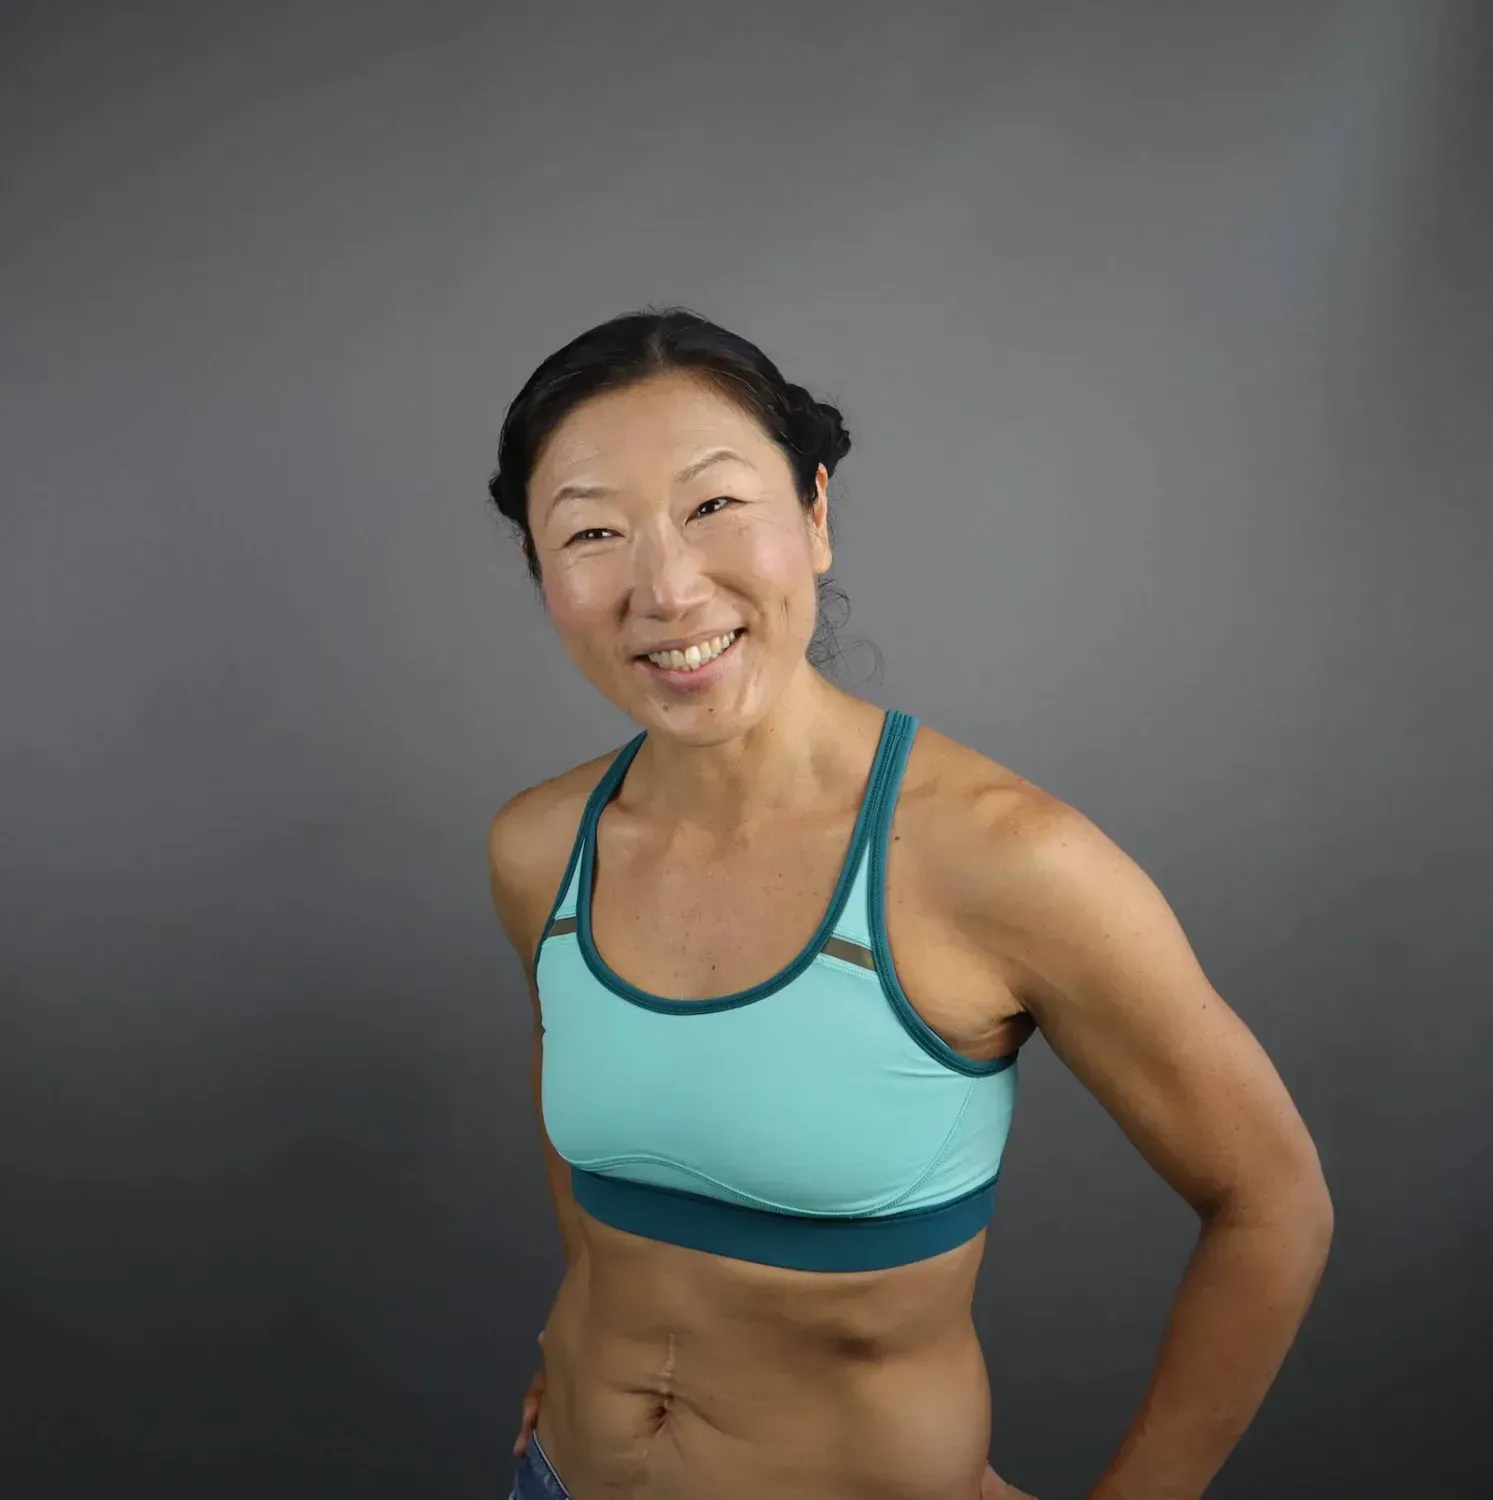
“The Best Way for Learning Free-Standing Handstand as Beginners”
If you are trying to learn how to do a handstand as a beginner, you might have checked many tutorials and videos already which suggest you start from kick-up on the wall or handstand wall walk. The majority of handstand beginners start with kicking up to handstand. That’s why they need a wall and take a much longer time to learn a handstand. If you’d sort of madly kick up into a handstand hoping to find that perfect point then you are gonna become very inconsistent and not very good at handstand. I started straightforwardly practicing “The Press” to handstand from the beginning. In this article, I would like to explain why I don't recommend using a wall for handstands practice, especially at the beginning, and how you can get started as a beginner safely and effectively to achieve your handstand goal. If you want to speed up your progression, avoiding mistakes is a great idea.
Common Problems in Handstand Practice Using A Wall
- You don't really practice handstand, but practice kicking up
- No consistency for finding balance or straight shape
- No awareness of active muscle connection
- Lack of serious commitment for free-standing upside-down position
- Muscle memory of bad habits are difficult to re-adjust
- Fear of practicing without wall isn't solved
"Relying too much on a wall creates common bad habits such as banana shape, inconstancy in finding a balance sweet spot, or collapsing body position for handstands"
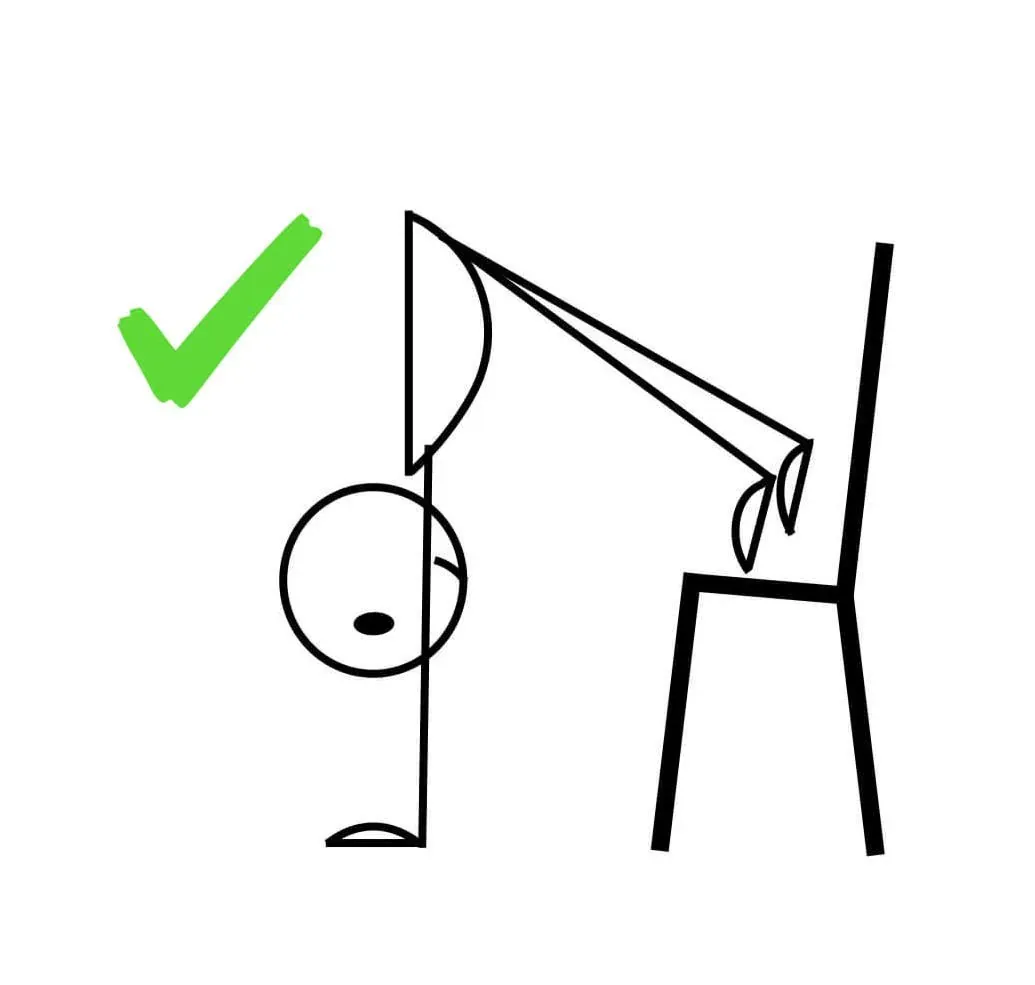
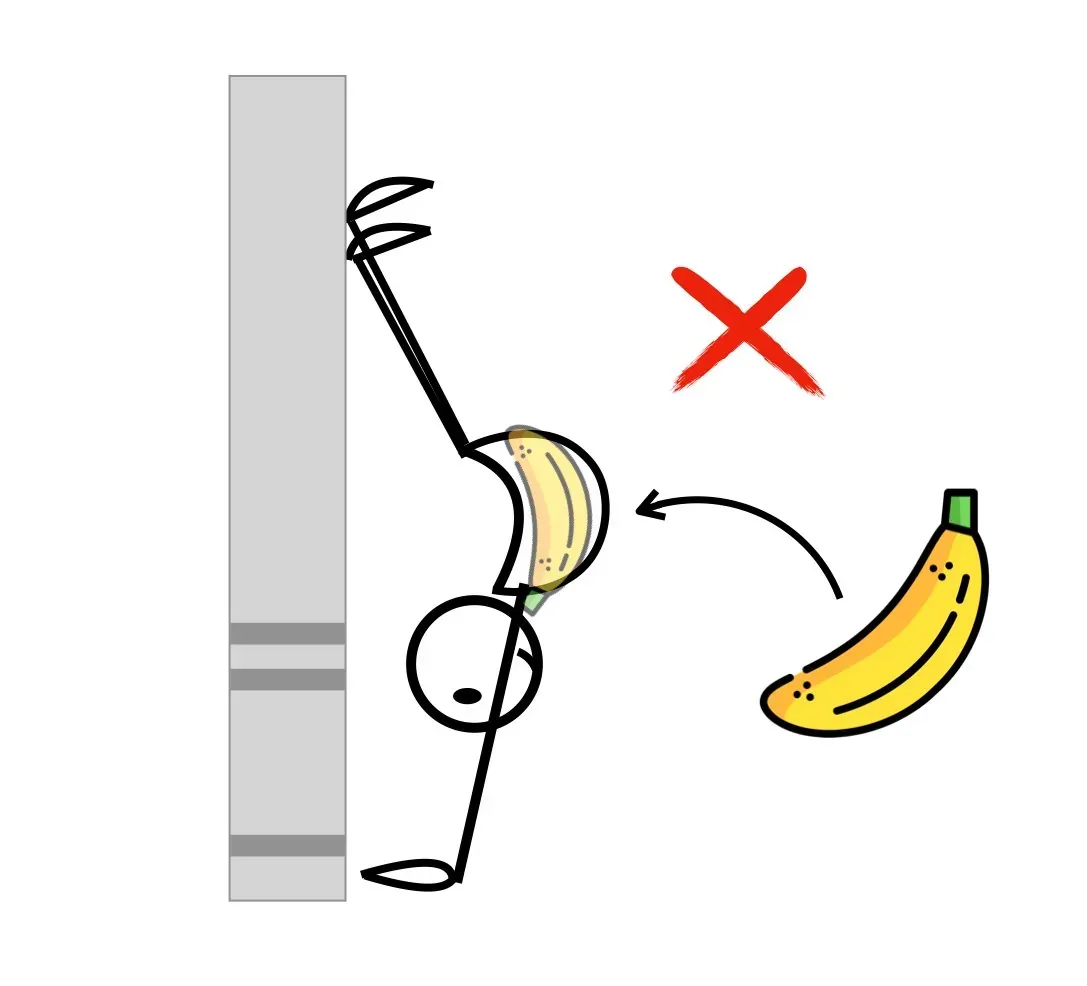
Fact
When it comes to the handstand, it can be overwhelming to try and apply everything we’re supposed to do at the beginning.
Our brain can absorb only a few things at a time, therefore you need to prioritize when learning the handstand. You need to simplify what you should be focusing on when learning it. From that point of view, using a wall at the beginning is unnecessary because you don't need to go upside-down all at once. At the beginning of your handstand journey, you may not even be flexible enough, mobile enough, or strong enough to be able to perform all of them. Building up all the necessary elements your body needs step by step, then putting all the necessary pieces together later is the best and safe way to achieve your handstand goal.
Priority in Practicing Handstand as Beginners
- Concistency of practice and progressive approach
- Hands, wrists, and shoulders strengths to bear your weight
- Finger strengths for re-adjust and holding balance
- Shoulder and scapula mobility
- Core compression skill
- Hamstring and hip flexor flexibility for "The Press" to handstand
How Should You Practice Handstand Successfully?
3 Super Basic Effective Drills for Handstand Beginners
Targeting to practice the L-Shape on a chair is a great start to educating your body movement patterns and gaining muscle strength.
The key to handstand practice is moving slowly, feeling your body, feeling the balance, and feeling the sweet spot that works for you. Each body is individual and you need to find your happy position.
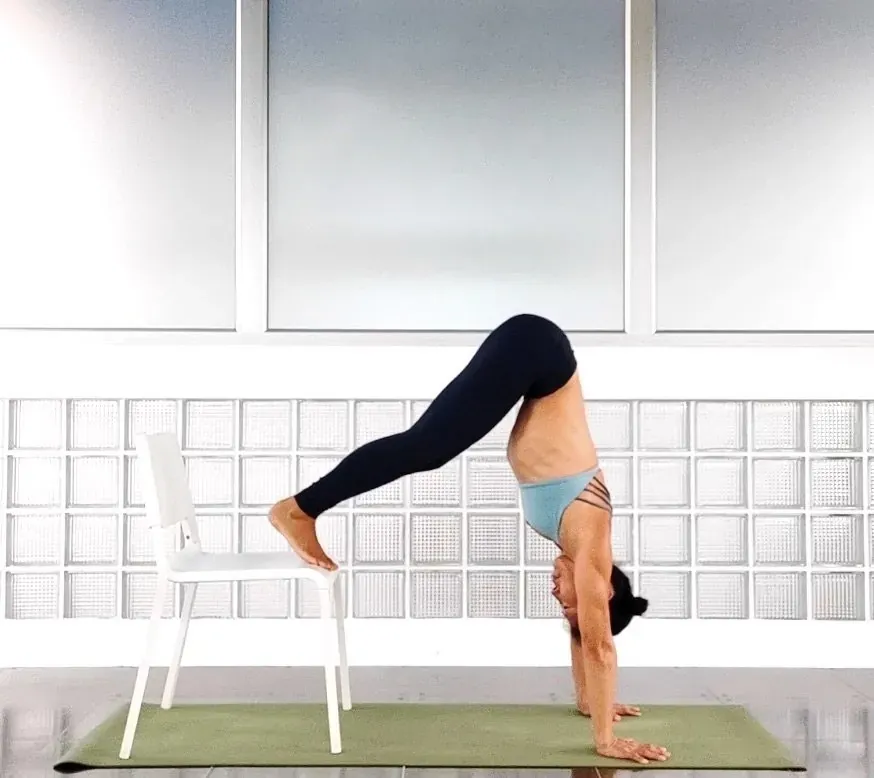
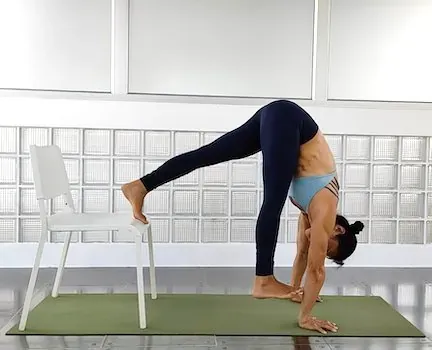
L-Stand Hold on Chair
This drill strengthens all necessary body parts for handstand practice. Fingers, wrists, arms, shoulders, and core including important alignment you can check and feel from the very beginning of handstand practice without fear. This way there is no risk to fail or fear without a wall at all.
How To Practice:
Step 1
Place both hands shoulder-width apart, fingers pointing straight forward. The hips should draw over the shoulders. Wrist, shoulder hip in a straight line.
Step 2
Step on a chair with extended legs
Step 3
Raise one leg up to the ceiling possibly extended at your best.
Step 4
Switch leg and practice both sides evenly.
Check List:
- Index fingers pointing forward
- Elbows (soft side) facing forward
- Shoulders externally rotated
- Shoulder elevation
- Shoulders over the wrists
- Wrist, shoulder, hip and leg in a straight line
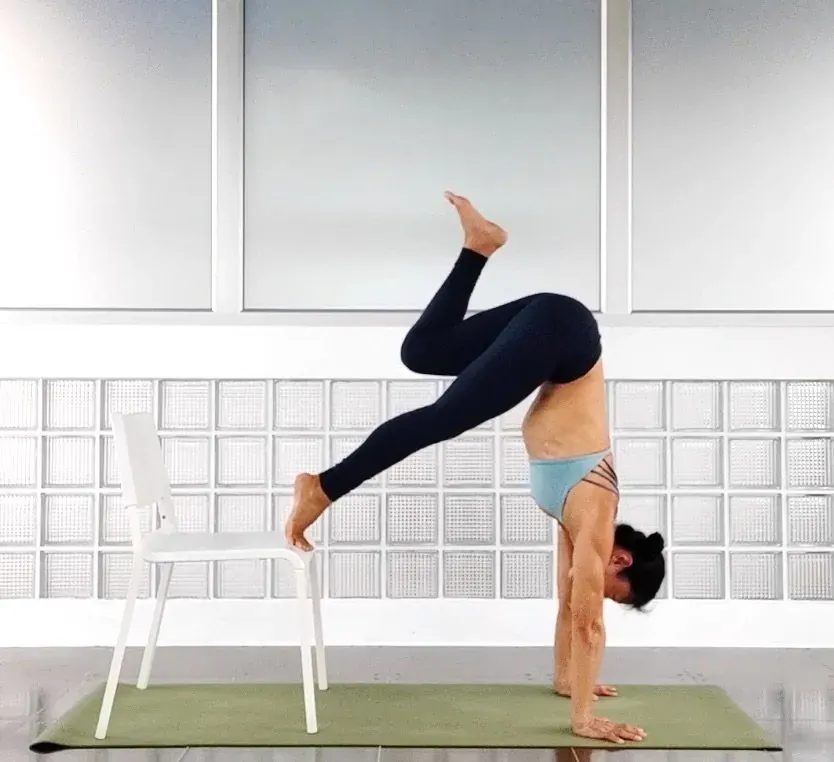
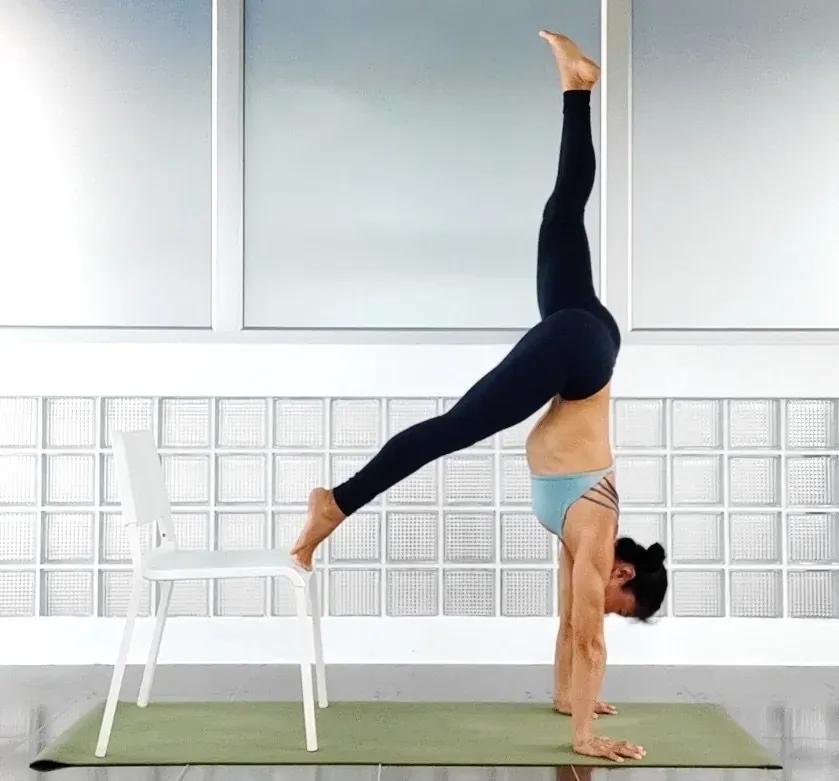
Wrist Toe Tap On Chair
This drill educates your body core compression which is the key for the press handstand. You will need shoulder + hamstring flexibility to bring your legs closer to your torso.
How To Practice:
Step 1
Place both hands shoulder-width apart underneath the shoulders, index fingers pointing forward
Step 2
Step on the chair on the toes, extend the legs, then swing one leg towards the wrist. Toe touches the wrist and immediately steps back that leg back on the chair and you switch the leg. Alternating legs.
Check List:
- Index fingers pointing forward
- Elbows externally rotated
- Shoulders externally rotated
- Shoulder elevation
- Shoulders passing over the wrists
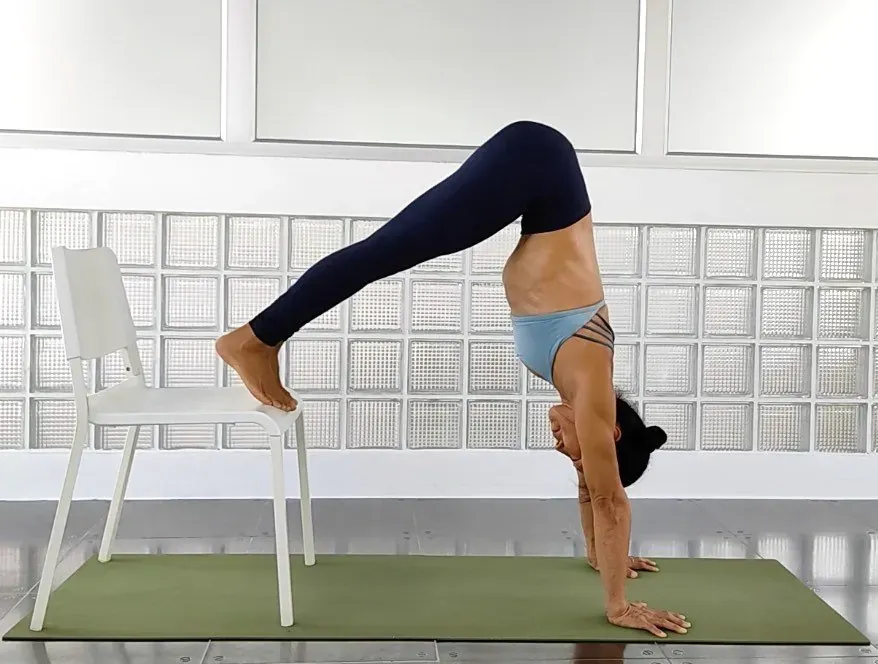
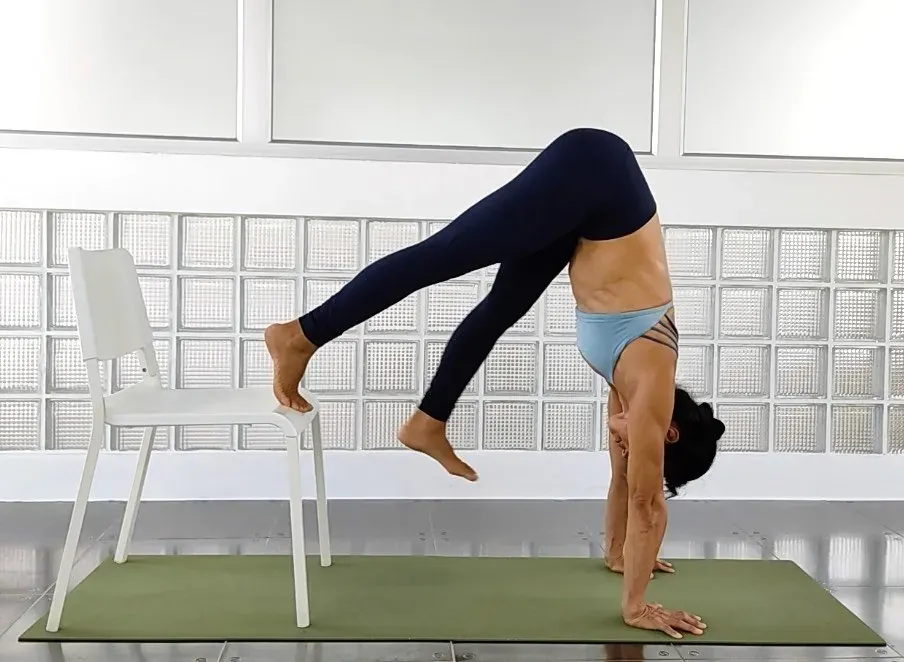
Hand Press Hop
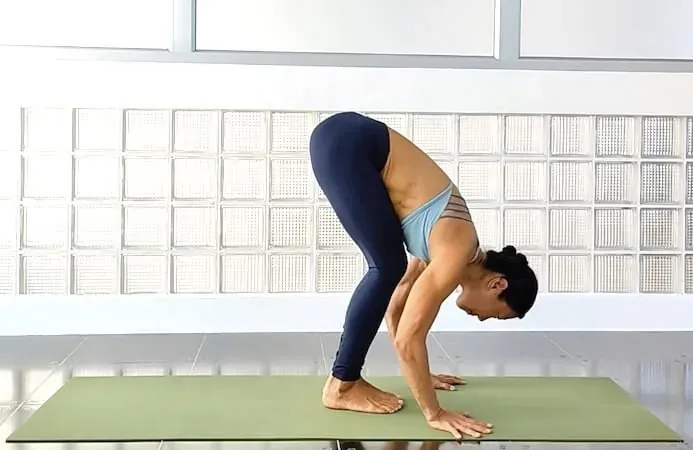
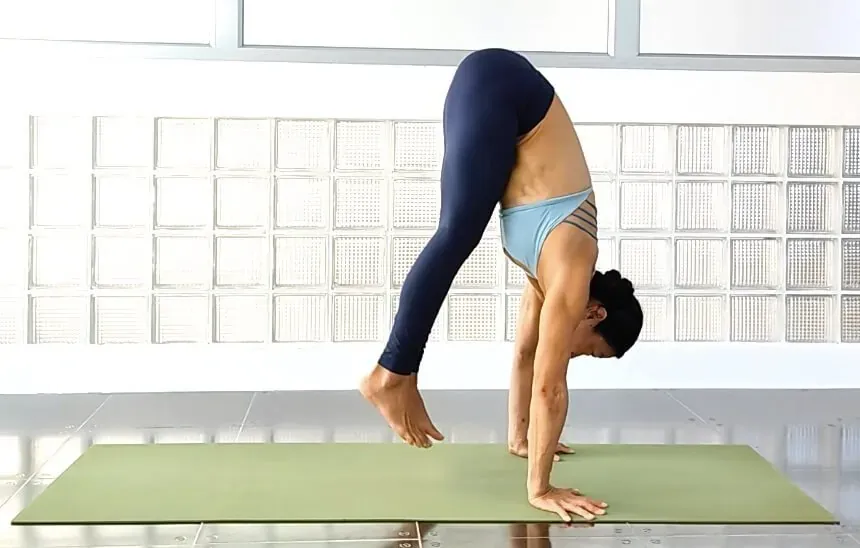
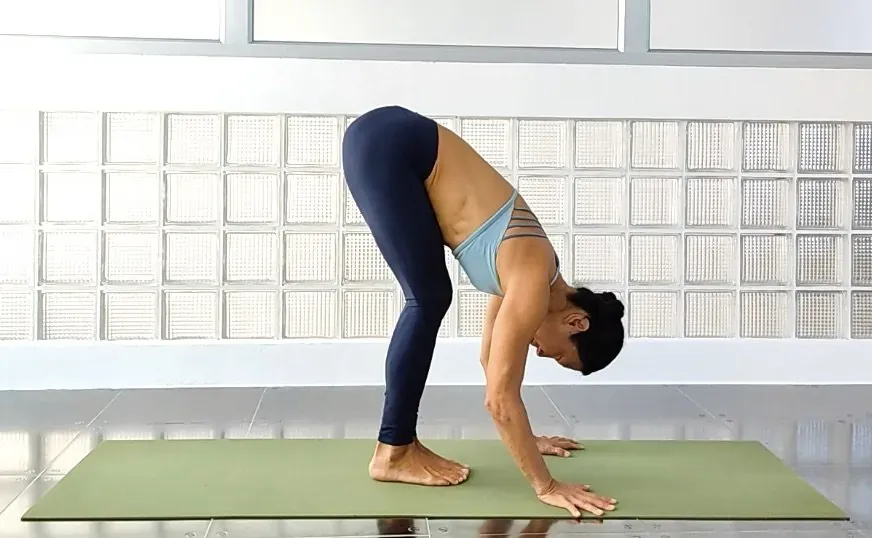
This drill is the first step to educating your body on a press/float sensation on the arms to handstand.
How To Practice:
Step 1
Place both hands shoulder-width apart, index fingers pointing forward, scapula depressed and knee bent.
Step 2
Small hop to bring the hips over the shoulders to put the weight on the arms.
Step 3
Go back to starting position. 10-20 repetitions to memorize your body the movement pattern.
Check List:
- Index fingers pointing forward, use "spider fingers"
- Elbows externally rotated
- Shoulders externally rotated
- Shoulder elevation
- Shoulders over the wrists
- Wrist, shoulder and hip in a straight line
Conclusion - How To Practice Handstand The Right Way
Let’s summarise everything. How to learn handstand the right way as beginners?
Learn “The Press” first. The foundation of handstands skill starts with your hands. Your fingers, arms, and shoulders are responsible for holding your weight in the upside-down position. For those practices, you don’t need to have fear to fail. You don’t need a wall at all. Through the basic drills above, you will build up not only your strength but also great awareness of motion patterns which muscles to activate, and how to enter in handstand position later as soon as you feel comfortable upside-down position.
- Build strength in your shoulders and core
- Gain flexibility in shoulders, hamstrings, and hip-flexors
- Learn scapula mobility
- Move slowly and gain positional awareness. The alignment is the key to handstand
- Once your body learns the movement pattern and alignment, everything else will follow easily.
Please feel free to comment with any questions or feedback below. I am happy to hear from you. Enjoy your handstand journey.
Thanks for reading this article so far. I appreciate that.
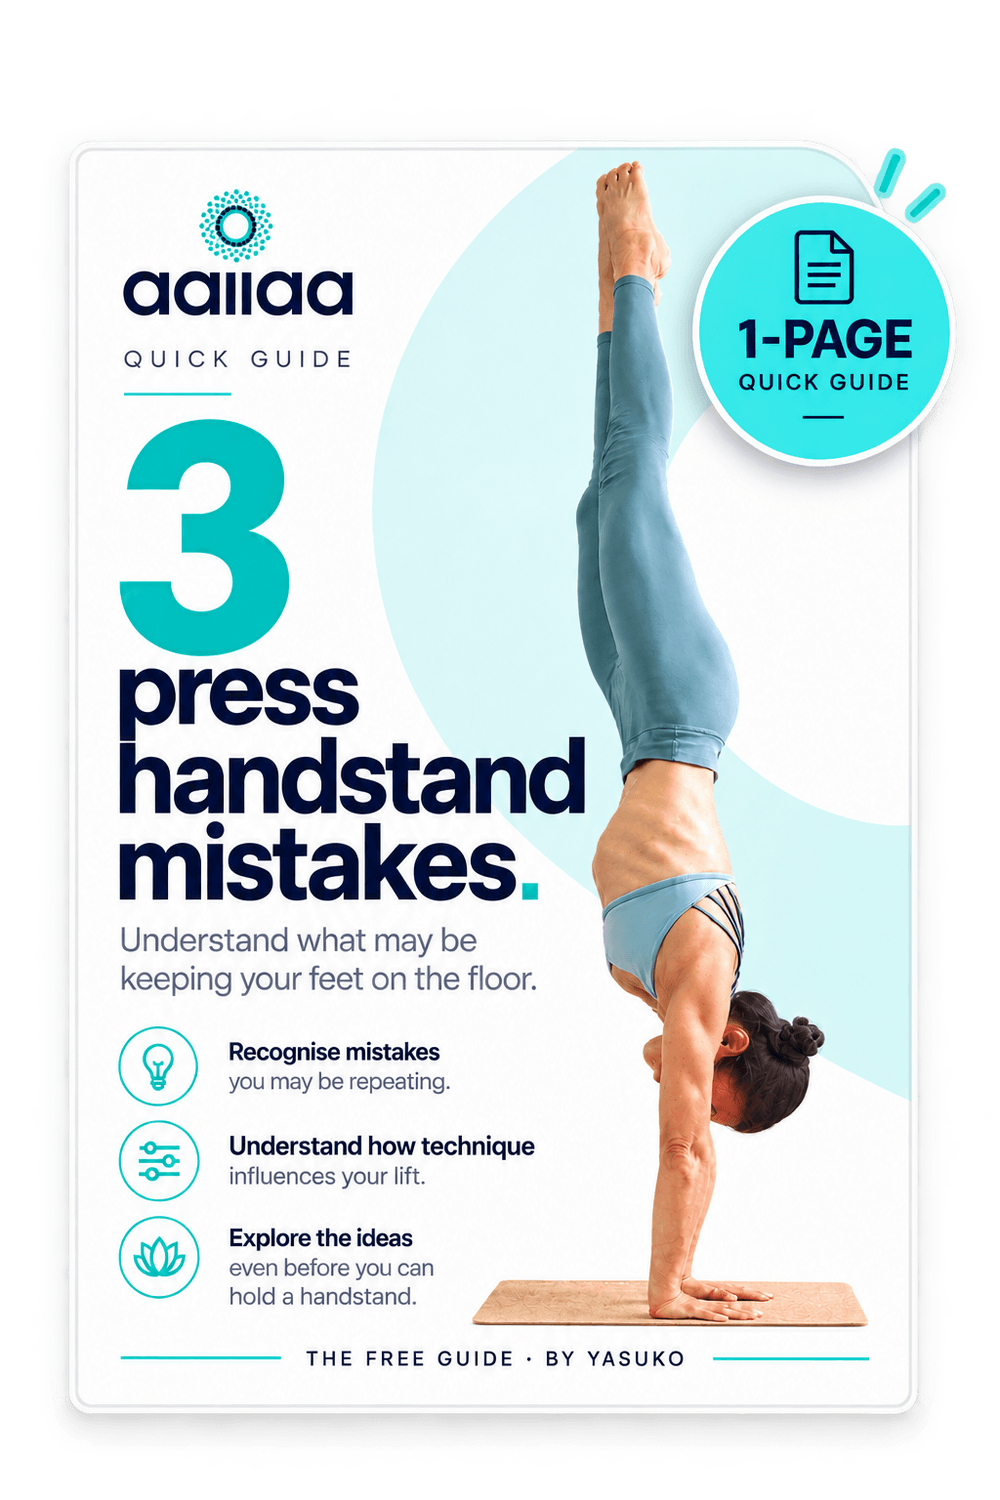
3 Press Handstand Mistakes
Get my free 1-page quick guide and see what may be keeping your feet on the floor.
Get the free guide →
Hi, I'm Yasuko
I teach the press handstand step by step – to students in over 30 countries.
Ready to learn the press?
My complete online program, from first lean to full press.
See the program →HEY, I’M AUTHOR…
... lorem ipsum dolor sit amet, consectetur adipiscing elit, sed do eiusmod tempor incididunt ut labore et dolore magna aliqua. Ut enim ad minim veniam, quis nostrud exercitation ullamco laboris nisi ut aliquip ex ea commodo consequat. Duis aute irure dolor in reprehenderit in voluptate velit esse cillum dolore eu fugiat nulla pariatur. Excepteur sint occaecat cupidatat non proident, sunt in culpa qui officia deserunt mollit anim id est laborum


JOIN MY MAILING LIST

Created with © systeme.io